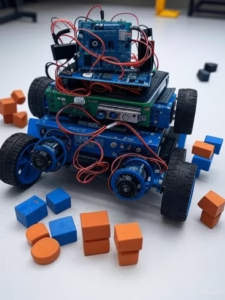
HandWave RoboCar kit
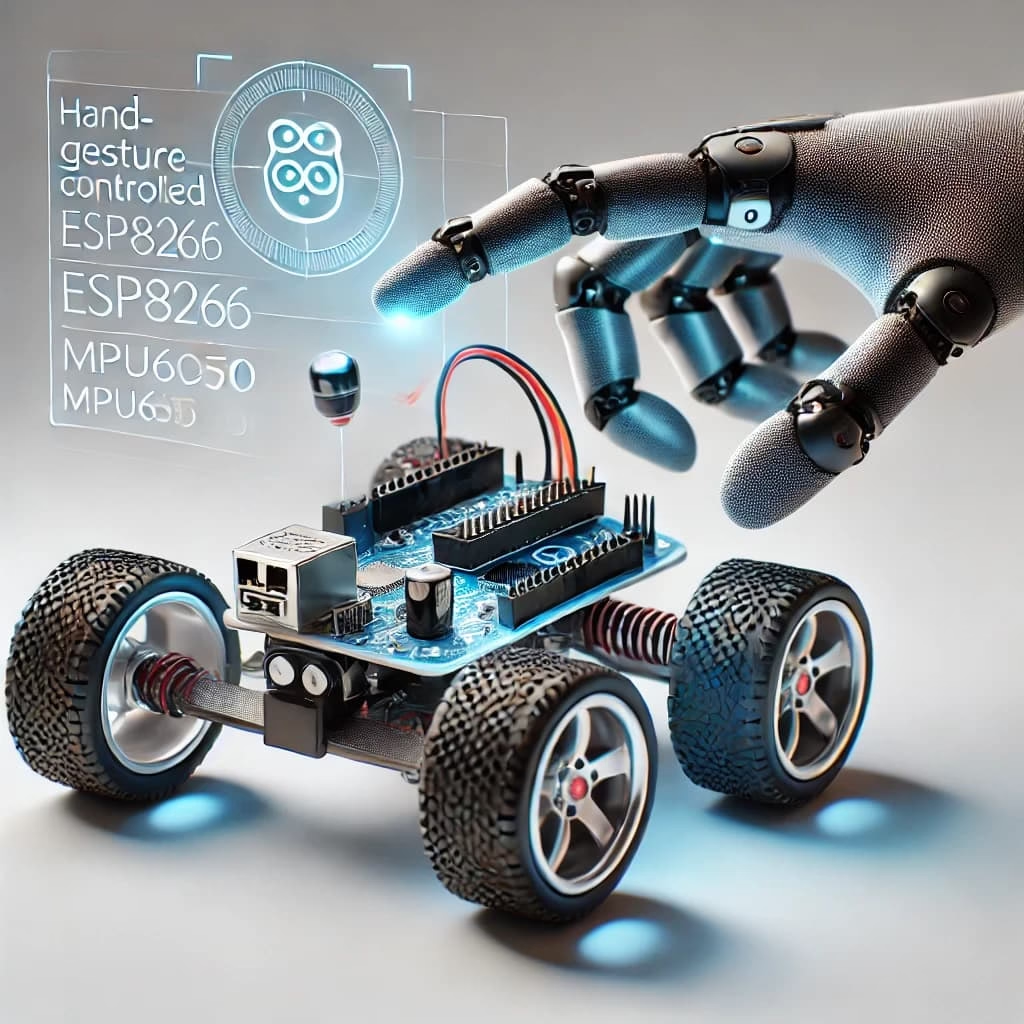
In this blog, we will guide you through building a hand gesture-controlled car using ESP8266 modules, MPU6050, and BO motors. This project allows you to control a car wirelessly with simple hand gestures.
Components Required:
2 x ESP8266 (one for transmitter, one for receiver)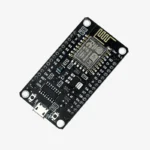
4 x BO motors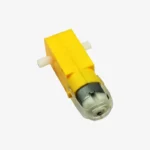
4 x Wheels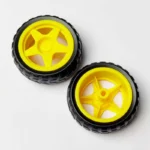
1 x L298N Motor Driver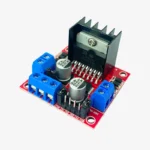
1 x MPU6050 (Gyroscope and Accelerometer)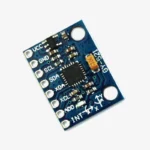
2 x Switches (one for transmitter, one for receiver)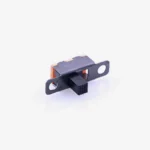
3 x 18650 Batteries (for receiver)
2 x 18650 Batteries (for transmitter)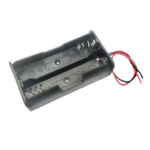

Battery holders and wires
Working Principle
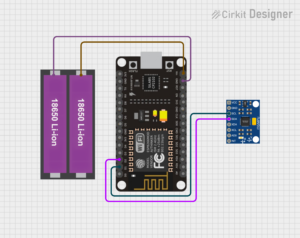
The system consists of two ESP8266 modules communicating via MAC address. The transmitter module is attached to an MPU6050 sensor, which detects hand movements and sends control signals to the receiver module. The receiver module processes these signals and controls the L298N motor driver to move the car accordingly.
Step-by-Step Guide
Step 1: Setting Up the Transmitter
1. Connect the MPU6050 sensor to the ESP8266 transmitter module:
VCC to 3.3V
GND to GND
SCL to D1 (GPIO5)
SDA to D2 (GPIO4)
2. Add a push switch to power on/off the transmitter.
3. Connect two 18650 batteries in a holder to power the ESP8266.
4. Upload the transmitter code to ESP8266, ensuring it reads MPU6050 data and transmits it to the receiver ESP via MAC address.
Step 2: Setting Up the Receiver
1. Connect the L298N motor driver to the ESP8266 receiver module:
IN1, IN2, IN3, IN4 to GPIO pins
VCC to 12V (from 3 x 18650 batteries)
GND to GND
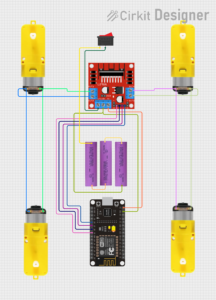
2. Connect BO motors to the motor driver outputs.
3. Add a switch to turn the receiver on/off.
4. Upload the receiver code to ESP8266, ensuring it receives signals and controls the motors accordingly.
Step 3: Programming the ESP8266 Modules
1. Use the Arduino IDE to program both ESP8266 modules.
2. Install necessary libraries such as ESP8266WiFi.h and Wire.h.
3. Implement code for gesture detection, MAC-based communication, and motor control.
Step 4: Testing and Final Assembly
1. Power up both modules.
2. Move the transmitter module with your hand; the car should respond accordingly.
3. Adjust sensitivity if necessary to improve performance.
4. Secure all components in place to finalize the build.