
How to Build Your First Robot: A Step-by-Step Guide for Beginners
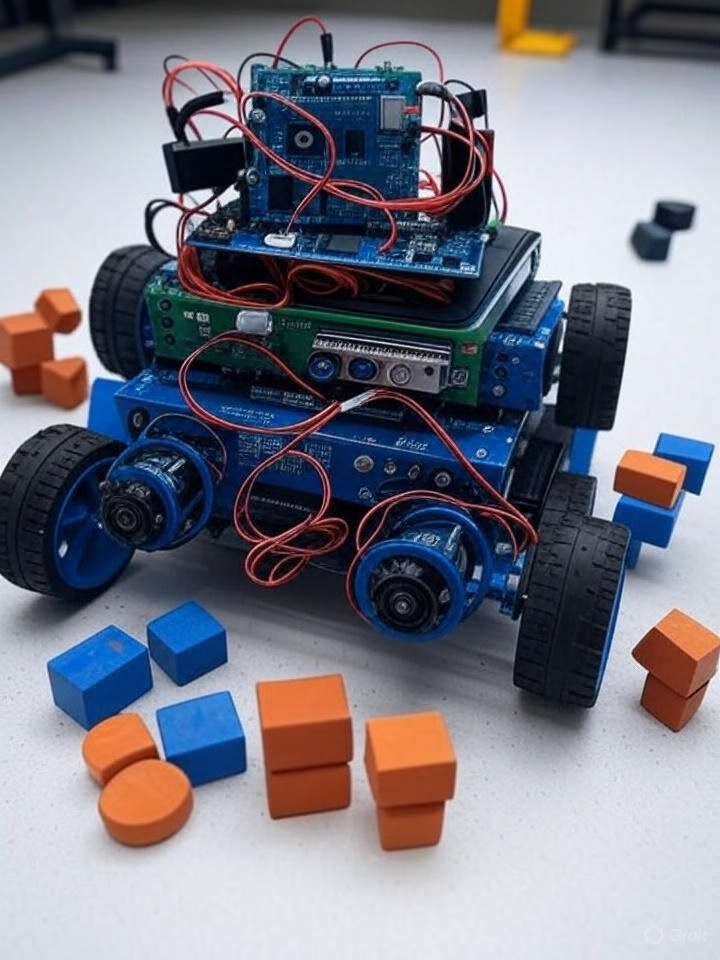
Building your first robot is an exhilarating dive into robotics, combining electronics, programming, and creativity. Whether you’re a student, hobbyist, or educator, creating a robot from scratch is a hands-on way to master microcontrollers, sensors, and motors. In this beginner-friendly guide, we’ll walk you through building a simple obstacle-avoiding robot using an Arduino Uno, available at HalfRobo.in. By the end, you’ll have a robot that navigates around obstacles and the skills to explore more advanced projects. Let’s roll!
Why Build a Robot?
Robotics merges hardware and software to create machines that interact with their environment. Building a robot teaches you:
- Coding: Program your robot to make decisions.
- Electronics: Connect and control components like sensors and motors.
- Problem-Solving: Troubleshoot hardware and code issues.
- Innovation: Build a foundation for projects like autonomous drones or smart devices.
Our project, an obstacle-avoiding robot, uses an Arduino Uno to read sensor data and drive motors, making it perfect for beginners. All parts are available at HalfRobo.in, your go-to store for robotics components in India.
What You’ll Need
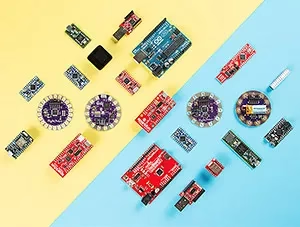
Gather these components, most of which can be found on HalfRobo.in:
Hardware
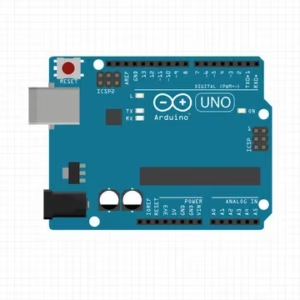
- Arduino Uno R3: The microcontroller brain of the robot.
- HC-SR04 Ultrasonic Sensor: Detects obstacles using sound waves.
- L298N Motor Driver Module: Controls motor speed and direction.
- DC Motors (2) with Wheels: Enable robot movement.
- Chassis: A 2-wheel or 4-wheel base to hold components.
- 18650 battery and holder: Powers the Arduino and motors.
- Breadboard and Jumper Wires: For easy, solder-free connections.
- Servo Motor (Optional): Rotates the ultrasonic sensor for scanning.
- Screws, Nuts, and Standoffs: To secure components.
Tools
- Computer with Arduino IDE: Download free from arduino.cc.
- USB Type-B Cable: Connects the Arduino Uno to your computer.
- Screwdriver: For chassis assembly.
- Double-Sided Tape or Glue Gun: To mount components.
Software
- Arduino IDE: For coding and uploading sketches.
- NewPing Library: Simplifies ultrasonic sensor readings (install via Arduino IDE Library Manager).
Tip: Save time with a robotics starter kit from HalfRobo.in, which bundles these components!
Step-by-Step Guide to Building Your Robot
Follow these steps to build and program your obstacle-avoiding robot. We’ll use a 2-wheel chassis with the ultrasonic sensor on a servo for directional scanning.
Step 1: Assemble the Chassis
- Attach Motors and Wheels:
- Secure DC motors to the chassis with screws and nuts.
- Attach wheels to motor shafts. Add caster wheels for balance if needed.
- Mount the Arduino Uno:
- Use standoffs or tape to fix the Arduino to the chassis, keeping USB and pin access clear.
- Add the Battery Holder:
- Place the 18650 battery holder on the chassis, leaving space for the motor driver and breadboard.
Step 2: Wire the Electronics
Connect components to the Arduino Uno using a breadboard and jumper wires:
- HC-SR04 Ultrasonic Sensor:
- VCC → Arduino 5V
- GND → Arduino GND
- Trig → Arduino Pin 9
- Echo → Arduino Pin 10
- Servo Motor (Optional):
- Signal → Arduino Pin 11
- VCC → Arduino 5V
- GND → Arduino GND
- L298N Motor Driver:
- IN1 → Arduino Pin 5
- IN2 → Arduino Pin 6
- IN3 → Arduino Pin 7
- IN4 → Arduino Pin 8
- ENA, ENB → Arduino PWM Pins (3, 4)
- VCC → 9V Battery Positive
- GND → Arduino GND and Battery Negative
- DC Motors:
- Connect to L298N outputs (OUT1/OUT2 for Motor 1, OUT3/OUT4 for Motor 2).
- Power:
- Connect 18650 battery positive to L298N VCC and Arduino VIN.
- Connect negative to Arduino GND and L298N GND.
Caution: Check connections to prevent short circuits. Use a multimeter if unsure.
Step 3: Program the Robot
- Install the Arduino IDE:
- Download from arduino.cc.
- Install NewPing Library:
- In the IDE, go to Sketch > Include Library > Manage Libraries, search “NewPing,” and install.
- Write the Code:
- This sketch makes the robot move forward, stop and scan when an obstacle is detected, and turn to avoid it.
#include <NewPing.h>
#include <Servo.h>

#define TRIGGER_PIN 9
#define ECHO_PIN 10
#define MAX_DISTANCE 200
#define SERVO_PIN 11

NewPing sonar(TRIGGER_PIN, ECHO_PIN, MAX_DISTANCE);
Servo myservo;

// Motor pins
const int motorPin1 = 5; // IN1
const int motorPin2 = 6; // IN2
const int motorPin3 = 7; // IN3
const int motorPin4 = 8; // IN4
const int speedPinA = 3; // ENA
const int speedPinB = 4; // ENB

void setup() {
  pinMode(motorPin1, OUTPUT);
  pinMode(motorPin2, OUTPUT);
  pinMode(motorPin3, OUTPUT);
  pinMode(motorPin4, OUTPUT);
  pinMode(speedPinA, OUTPUT);
  pinMode(speedPinB, OUTPUT);
  myservo.attach(SERVO_PIN);
  myservo.write(90); // Center servo
  Serial.begin(9600);
}

void loop() {
  int distance = sonar.ping_cm();
  if (distance > 0 && distance < 20) { // Obstacle within 20 cm
    stopMotors();
    int rightDistance = lookRight();
    delay(500);
    int leftDistance = lookLeft();
    delay(500);
    myservo.write(90); // Reset servo
    if (rightDistance > leftDistance) {
      turnRight();
    } else {
      turnLeft();
    }
  } else {
    moveForward();
  }
}

void moveForward() {
  digitalWrite(motorPin1, HIGH);
  digitalWrite(motorPin2, LOW);
  digitalWrite(motorPin3, HIGH);
  digitalWrite(motorPin4, LOW);
  analogWrite(speedPinA, 150); // Speed (0-255)
  analogWrite(speedPinB, 150);
}

void stopMotors() {
  digitalWrite(motorPin1, LOW);
  digitalWrite(motorPin2, LOW);
  digitalWrite(motorPin3, LOW);
  digitalWrite(motorPin4, LOW);
  analogWrite(speedPinA, 0);
  analogWrite(speedPinB, 0);
}

void turnRight() {
  digitalWrite(motorPin1, HIGH);
  digitalWrite(motorPin2, LOW);
  digitalWrite(motorPin3, LOW);
  digitalWrite(motorPin4, HIGH);
  analogWrite(speedPinA, 150);
  analogWrite(speedPinB, 150);
  delay(500); // Turn duration
  stopMotors();
}

void turnLeft() {
  digitalWrite(motorPin1, LOW);
  digitalWrite(motorPin2, HIGH);
  digitalWrite(motorPin3, HIGH);
  digitalWrite(motorPin4, LOW);
  analogWrite(speedPinA, 150);
  analogWrite(speedPinB, 150);
  delay(500);
  stopMotors();
}

int lookRight() {
  myservo.write(0);
  delay(500);
  int distance = sonar.ping_cm();
  return distance;
}

int lookLeft() {
  myservo.write(180);
  delay(500);
  int distance = sonar.ping_cm();
  return distance;
}- Upload the Code:
- Connect the Arduino Uno to your computer via USB.
- Select Tools > Board > Arduino Uno and Tools > Port in the IDE.
- Click “Upload” to program the Arduino.
Step 4: Test and Debug
- Power Up:
- Connect the 9V battery to power the robot.
- Disconnect USB to avoid power conflicts.
- Test Behavior:
- Place the robot on a flat surface.
- It should move forward, stop at obstacles within 20 cm, scan left/right, and turn toward the clearer path.
- Troubleshoot:
- No Movement: Check motor wiring, battery charge, or L298N connections.
- Sensor Issues: Ensure HC-SR04 is unobstructed; use Serial.println(distance) to debug readings.
- Servo Failure: Verify servo wiring and code.
- Open Tools > Serial Monitor to monitor sensor data.
Step 5: Customize and Enhance
- Adjust Speed: Change analogWrite(speedPinA, 150) values (0–255) for motor speed.
- Modify Range: Alter distance < 20 to adjust obstacle detection distance.
- Add Features:
- Attach LEDs or a buzzer from HalfRobo.in for feedback.
- Use a 4-wheel chassis for stability.
- Add a line-following sensor for a multi-mode robot.
Tips for Success
- Test Components: Verify motors, sensor, and servo individually before assembly.
- Tidy Wiring: Use cable ties to prevent loose connections.
- Learn from Others: Check Arduino.cc or r/arduino for tips.
- Shop at HalfRobo.in: Find reliable components and kits at HalfRobo.in
- Iterate: Experiment with new sensors or code to make your robot unique.
Common Challenges and Fixes
- Robot Won’t Move: Check battery voltage , Verify motor driver wiring.
- Sensor Errors: Ensure HC-SR04 has a clear line of sight. Test with Serial Monitor.
- Code Issues: Check pin numbers and library installation. Read IDE error messages.
Why HalfRobo.in?
HalfRobo.in offers high-quality robotics components, from Arduino Uno boards to sensors and motors, perfect for beginners and experts. With fast shipping across India and excellent support, it’s your ideal partner for robotics projects. Browse their collection today!
Conclusion
Building your first robot is a thrilling step into robotics. With an Arduino Uno, a few components, and this guide, you’ve created an obstacle-avoiding robot that’s both fun and educational. Keep exploring—add features, try new projects, or shop for upgrades at HalfRobo.in. Share your robot in the comments or tag us on social media to inspire others!
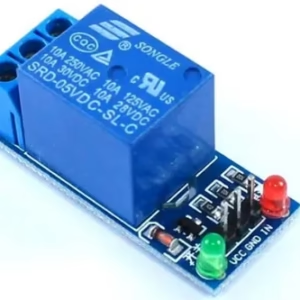 1 Channel 5V Active Low Relay Module
 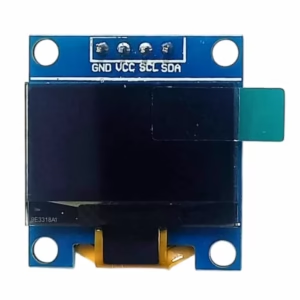 0.96 Inch OLED Display Module SPI/I2C 4pin Blue Color